2.2 Installation
(Part of a series of SQL Server 2012 training course notes. Previous | Contents | Next)
Installation User: Local admin rights are required for the installation, but you do not need any special domain rights.
Disk Placement: Normally executable program files will be installed into the C: drive, while database files would be kept on SAN storage mapped as e.g. D: drive. For critical high performance databases, an additional SAN array would be used (mapped as e.g. E: drive) to separate data files from transaction log files. By default, the install will dump everything into C:, so be sure to specify the disk drive targets you want during the install.
Operating System: If installing onto an operating systems older than Windows Server 2012, an operating system service pack is a prerequisite, as detailed here.
Otherwise, you will get this error at the start of the SQL Server installation:
Note that a server reboot will be required during the installation of an operating system service pack.
It is in any case good practice to have the latest operating system service packs installed before installing SQL Server, even if that is more than the minimum requirements dictate.
Media: SQL Server can be downloaded from microsoft.com but, with the exception of Express edition, unless you enter a license code either during the installation or post-install, this will only give you the 180 day trial/evaluation edition. Alternatively Microsoft ship DVD packs to their customers containing SQL Server licence code already pre-entered. In many organisations those DVDs are retained by Windows Sys Admins, or kept locked away, and can be difficult for DBAs to obtain. Tip: check during handover of SQL Server systems that you are not being passed an unlicensed trial/evaluation edition – you can see this in SQL Server Management Console > Help > About.
If copying software installation files onto the target server, be sure to delete once the installation is complete. Keeping the software installation files in a folder named e.g. C:\junk will help others clean up later if you forget to.
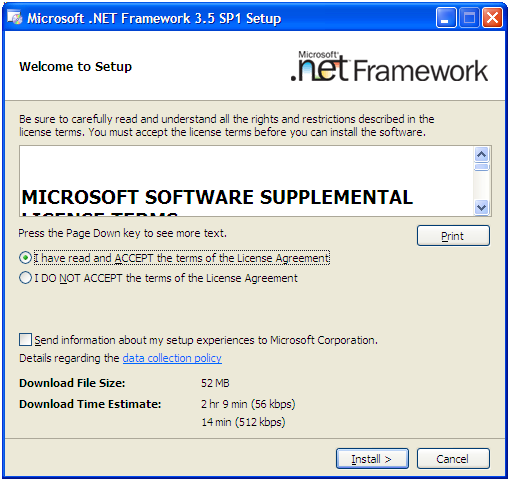
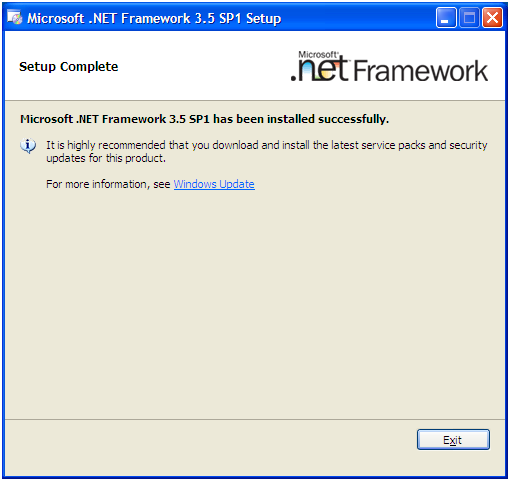
.net: If the server did not come with .net framework 3.51 SP1 pre-installed, then the SQL Server installation will install this as its first step. (The below screenshots are from when this happened for a 2008R2 installation, but the process is exactly the same with SQL Server 2012.)
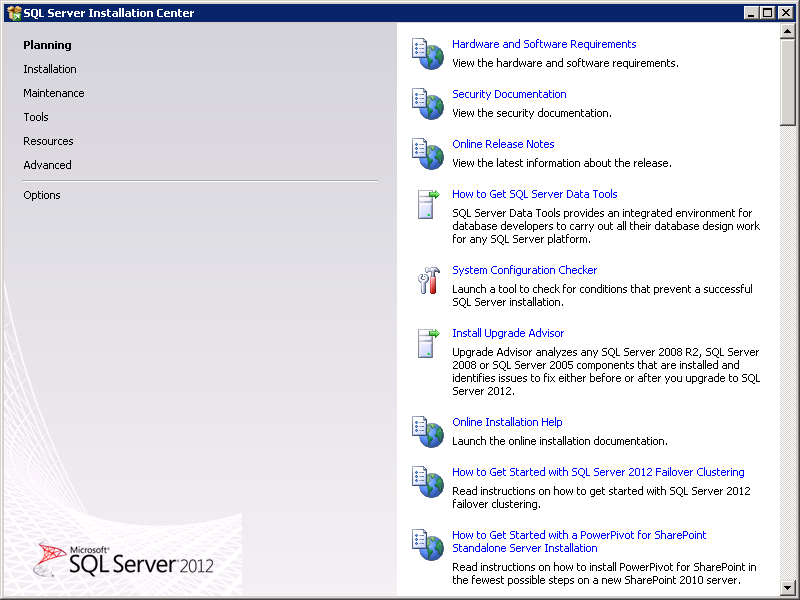
2.2.1) Planning Screen: You can run the System Configuration Checker from here, although it in any case is run when you start the install proper. When done, click Installation to go to the main installation screen
2.2.2) Installation Screen: Clustering installation options are here. Assuming you want a normal non-clustered SQL Server, choose the top option to install. This option is also where you would add extra features (Reporting Services, Analysis Services) post-install.
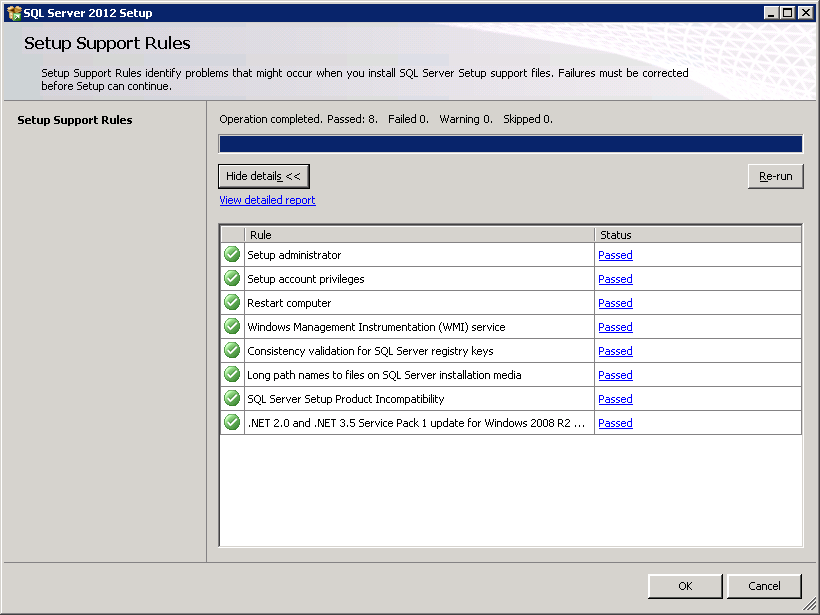
2.2.3) Server Support Rules/System Configuration Checker: this is the same screen as you would have seen if you had run System Configuration Checker from the Planning Screen.
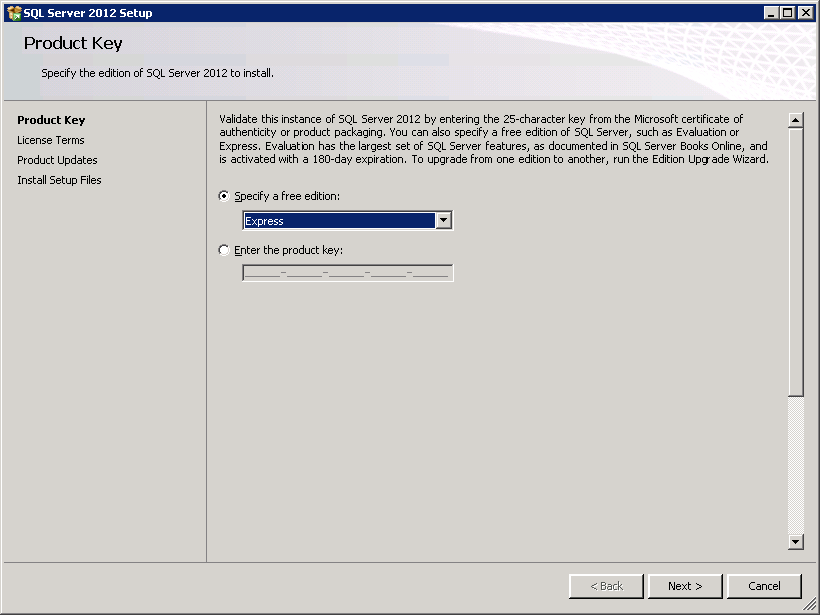
2.2.4) Product Key: If working from Microsoft shipped DVD pack, your product key (licence code) will already be filled in here. Software downloaded from microsoft.com will need your product key typed into it. Alternatively you can choose to install one of the free editions. If you install a free edition, you can always post-install choose Edition Upgrade from the Maintenance screen of the SQL Server Installation Center and convert it to a paid edition. The evaluation edition really will stop working 180 days after the installation.
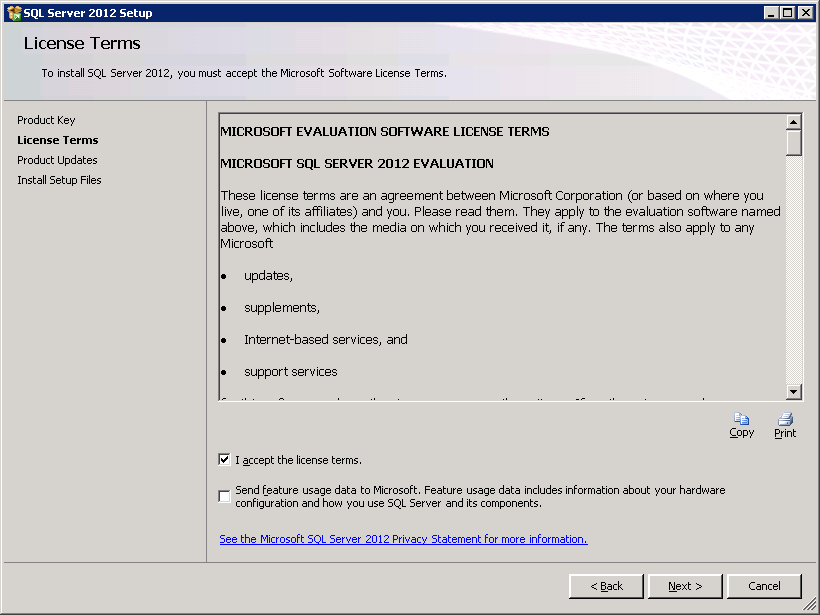
2.2.5) License Terms: Accept the license terms.
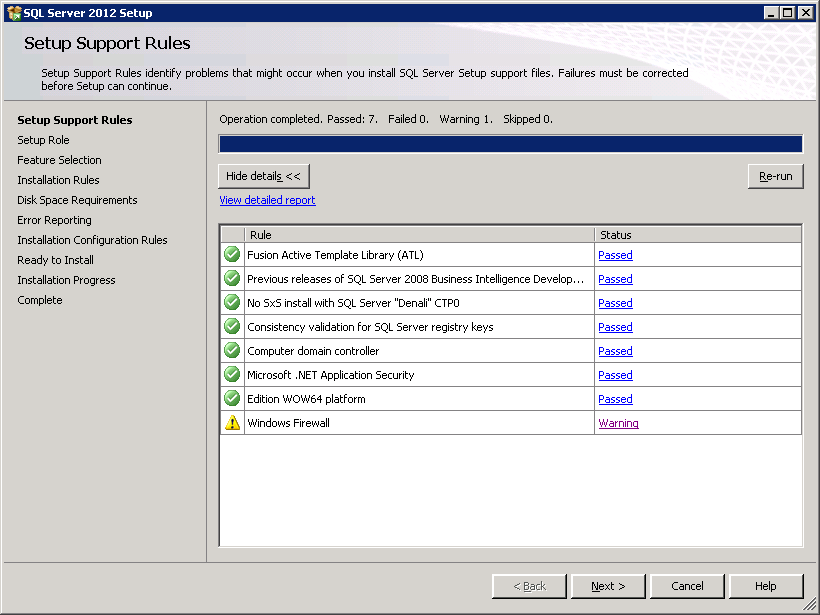
2.2.6) Setup Support Rules: If you have Windows Firewall on (which you should), you will get a warning advising you to open specific ports for remote SQL Server access – which is something I do as a final step after the installation has completed.
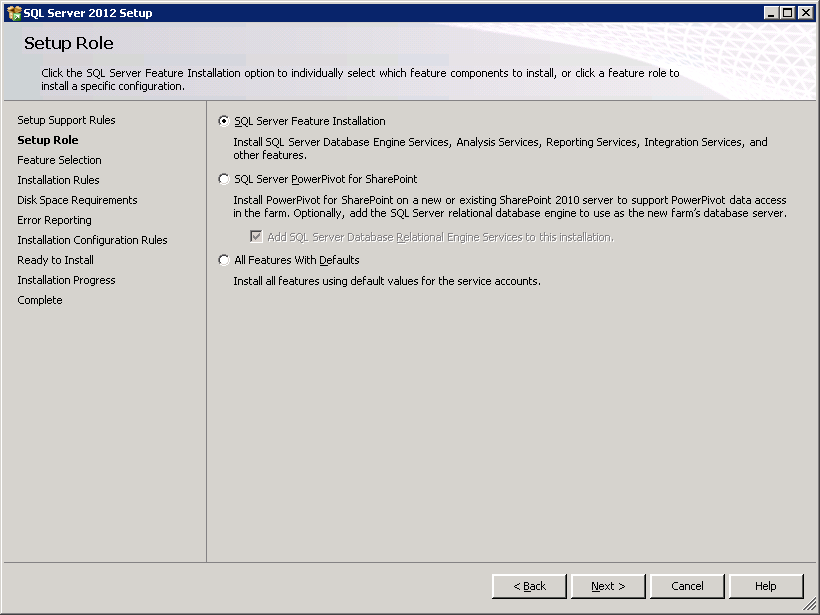
2.2.7) Setup Role: Choose the top option ‘SQL Server Feature Installation’ here – the bottom ‘All Features With Defaults’ option installs too much unnecessary software/databases/services.
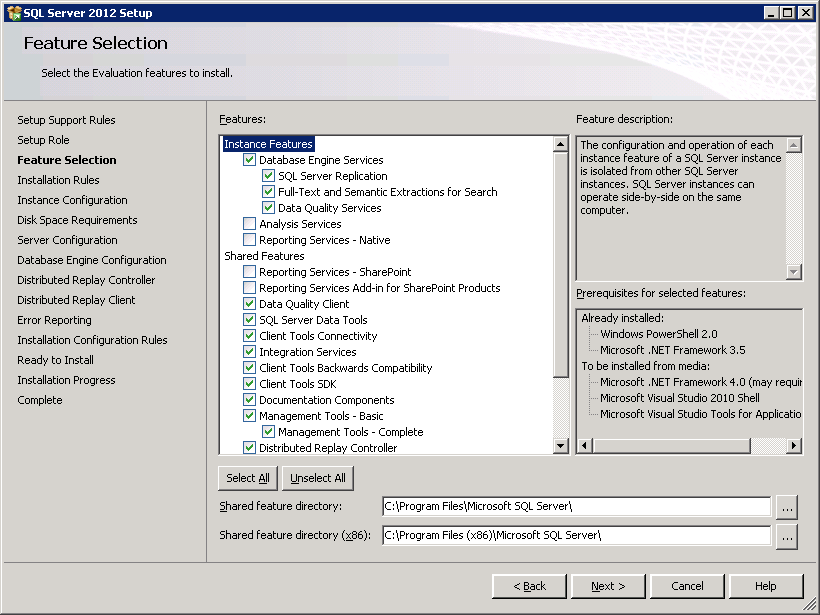
2.2.8) Feature Selection: I install everything except for these 4, which come with a heavy footprint:
- Analysis Services – this is OLAP data mining, often only needed on reporting databases and data warehouses.
- Reporting Services – creates two extra databases and Windows service. Despite the name is not used solely on reporting databases or data warehouses.
- Reporting Services for SharePoint
- Reporting Services Add-in for SharePoint Products
These can always be installed later whenever required, using the ‘add features to an existing installation’ option in the Installation page of the SQL Server Installation Center. Unlike with Oracle, these features are not extra cost options but come included in that particular edition – so I only choose not to install these to cut down on bloat, not for cost reasons.
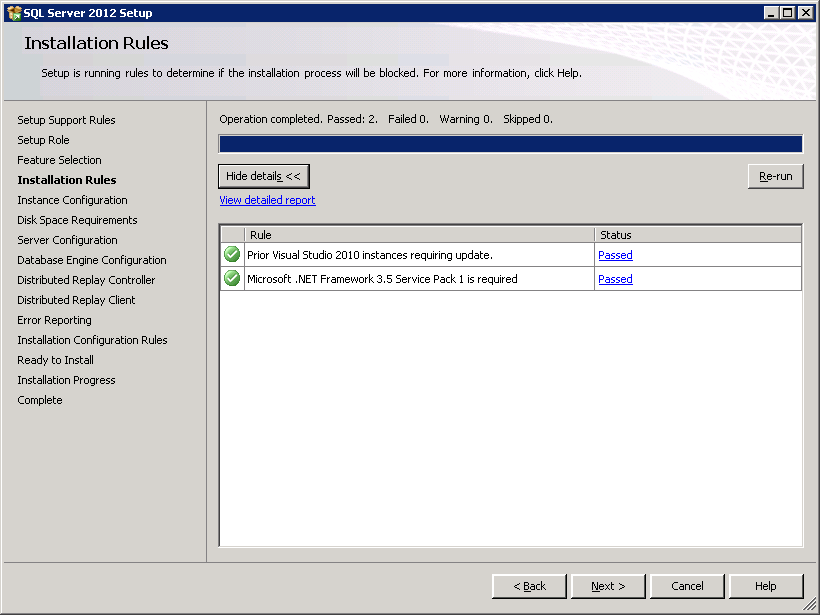
2.2.9) Installation Rules: click next here.
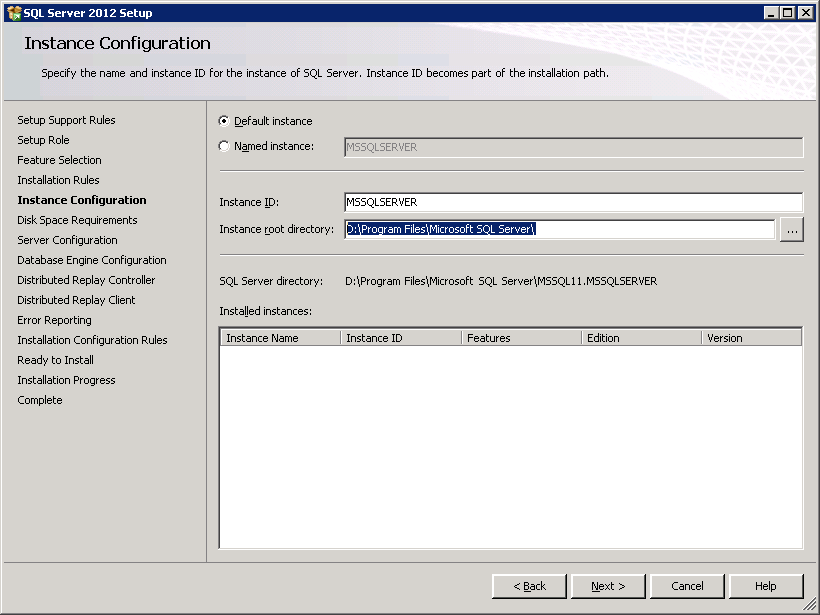
2.2.10) Instance Configuration: *important* be sure to change the instance root directory away from C: (the default) to a disk drive with a lot of space, possibly a SAN drive. This is where the databases will be created into, and most likely you will not want them in your C: drive. Here I have just overtyped the C: with D: – that keeps the folder structure the same as default, just on another drive. You do not have to pre-create the folders listed here, the installation will create them as needed.
I would advise staying with default instance, and avoiding named instances if at all possible – it makes management much simpler. Running several instances on the same server is possible but is an inefficient use of memory resource, best to have one (default) instance only on each server.
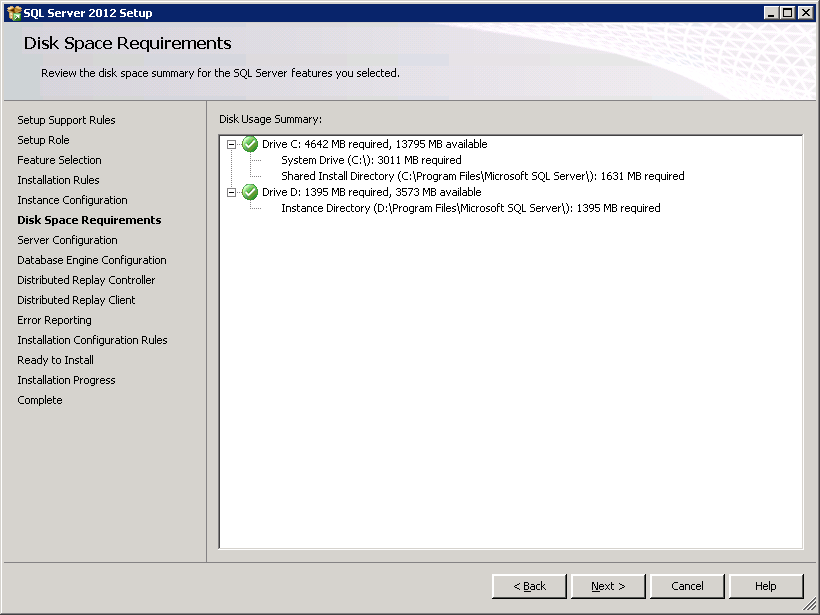
2.2.11) Disk Space Requirements: This should show the desired split, with binary executable files on C:, and database files on D: or SAN:
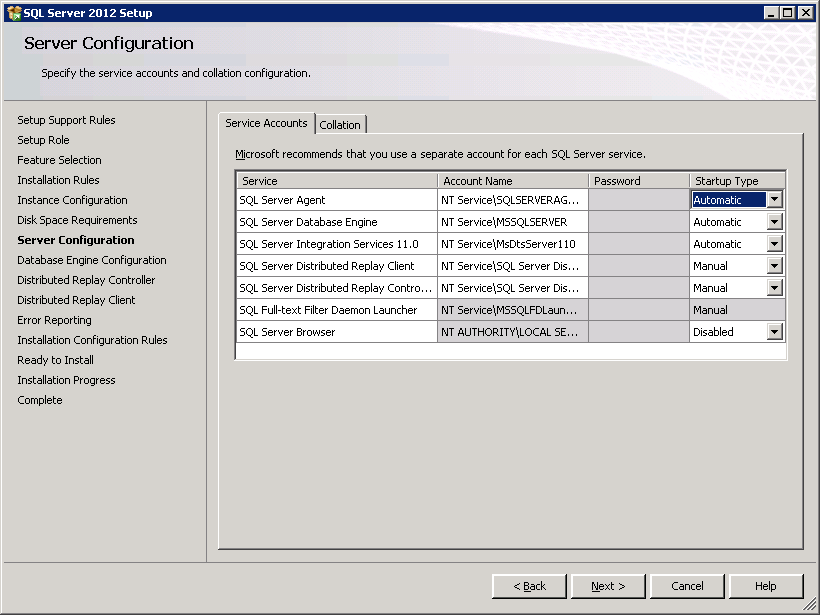
2.2.12) Server Configuration – Service Accounts: You will want ‘SQL Server Agent’ to startup automatically, so make that change. Otherwise stay with the defaults. Older versions of SQL Server by default used higher privileged accounts than necessary to run these services, Microsoft have improved security here.
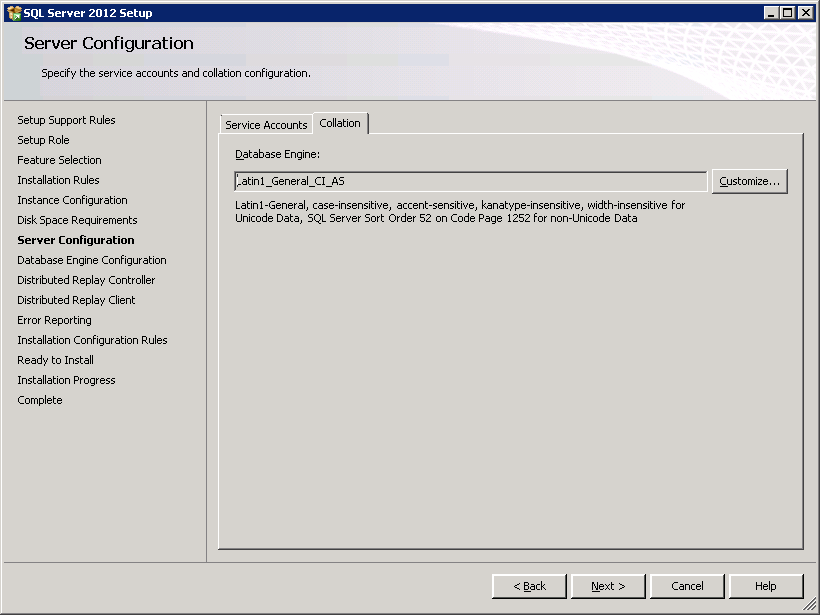
2.2.13) Server Configuration – Collation: Stay with default here. This is the equivalent of Oracle’s character sets. If moving away from default, it is best to do that for all servers in your entire organisation, to keep them all consistent for any inter-server data transfers.
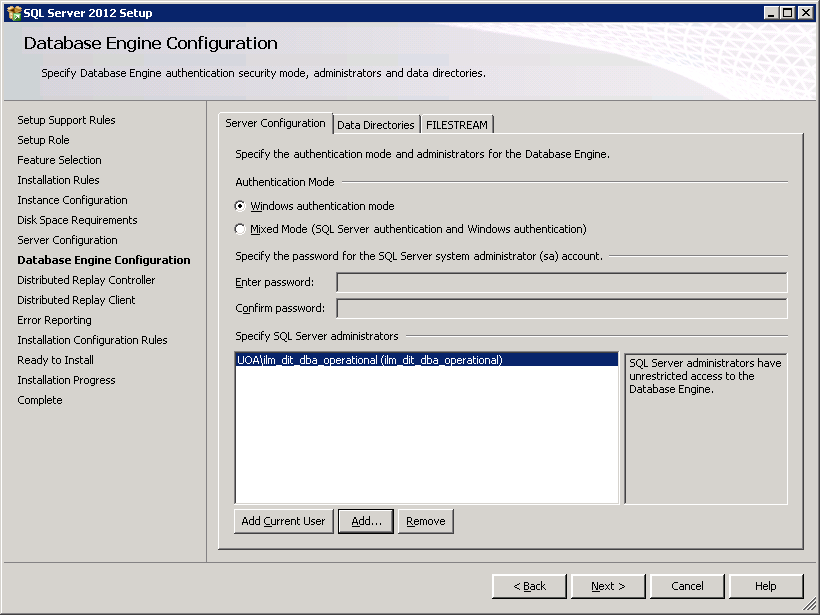
2.2.14) Database Engine Configuration – Server Configuration: Stay with the default of Windows authentication mode if at all possible, it is the most secure. Mixed mode allows username/password combination logins direct into the database (like Oracle).
SQL Server administrators should be a domain group (only), rather than adding and maintaining a long list of specific users separately to each installation. You can add/remove administrator accounts any time later.
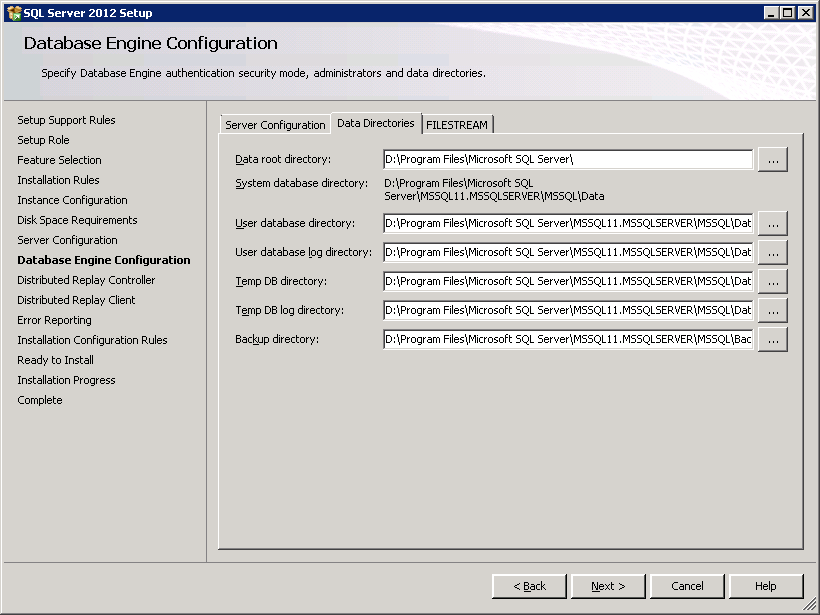
2.2.15) Database Engine Configuration – Data Directories: Assuming you set the instance root folder correctly back in 2.2.10, the defaults should be kept in place at this screen. If you see disk drives you don’t want in this screen, such as C:, then that would imply the instance root was set wrong, so go back five steps and change it there.
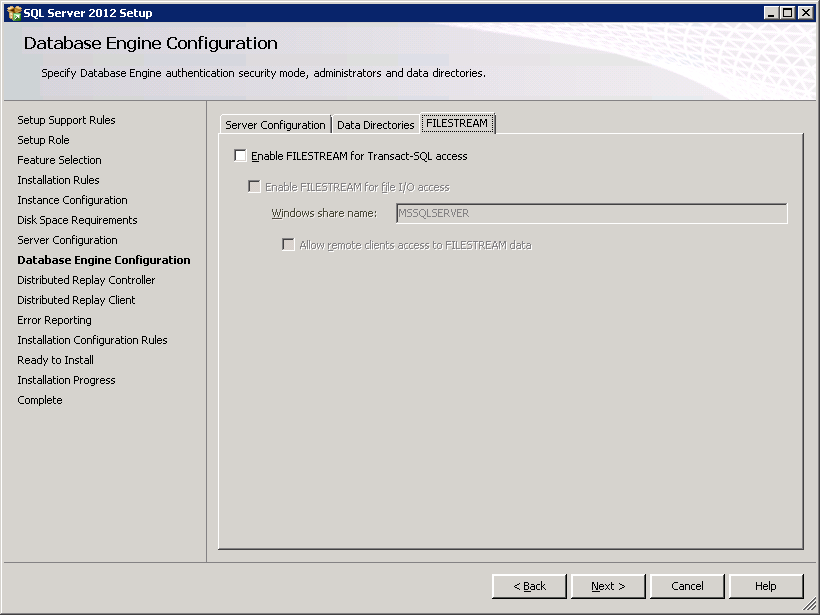
2.2.16) Database Engine Configuration – FILESTREAM:
Filestream storage is only used if you are going to have a huge amount of BLOB data and wish to store it outside the database in a filesystems, so in most cases leave this unchecked.
2.2.17) Distributed Replay Controller
The Microsoft SQL Server Distributed Replay feature helps you assess the impact of future SQL Server upgrades. You can also use it to help assess the impact of hardware and operating system upgrades, and SQL Server tuning. The Microsoft SQL Server Distributed Replay feature can use multiple computers to replay trace data and simulate a mission-critical workload. Use Distributed Replay for application compatibility testing, performance testing, or capacity planning.
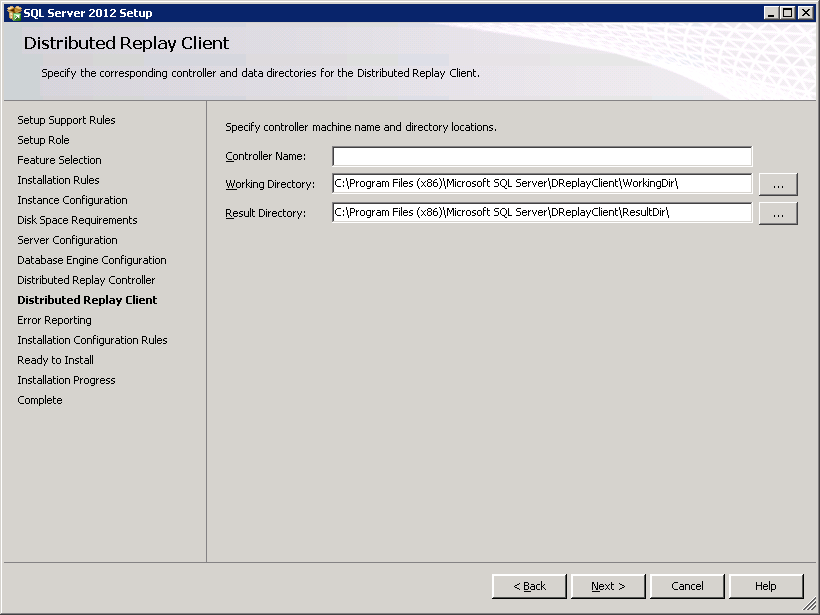
2.2.18) Distributed Replay Client
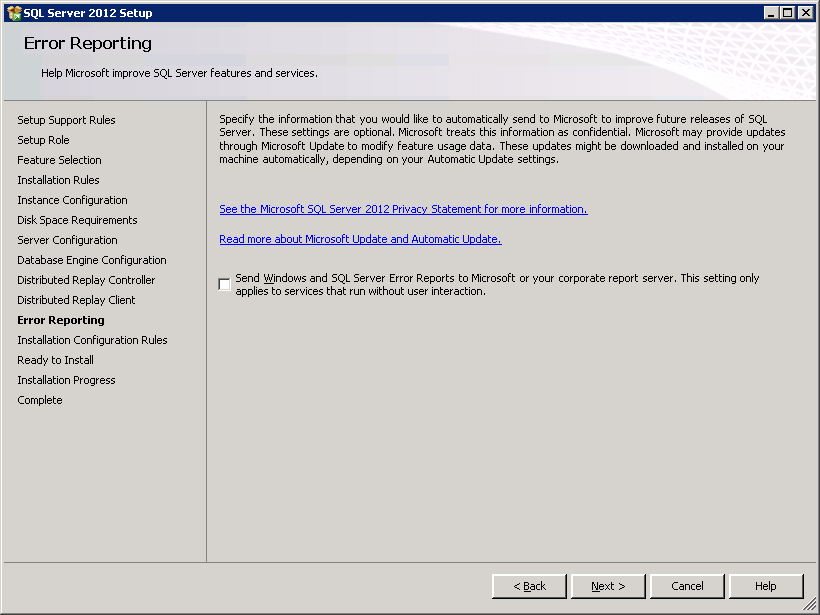
2.2.19) Error Reporting
Leave this at default unchecked setting, unless you want Microsoft to be automatically sent your crash error reports. Having your own Corporate Error reporting server would be useful but setup is non trivial – information here (pdf) and here.
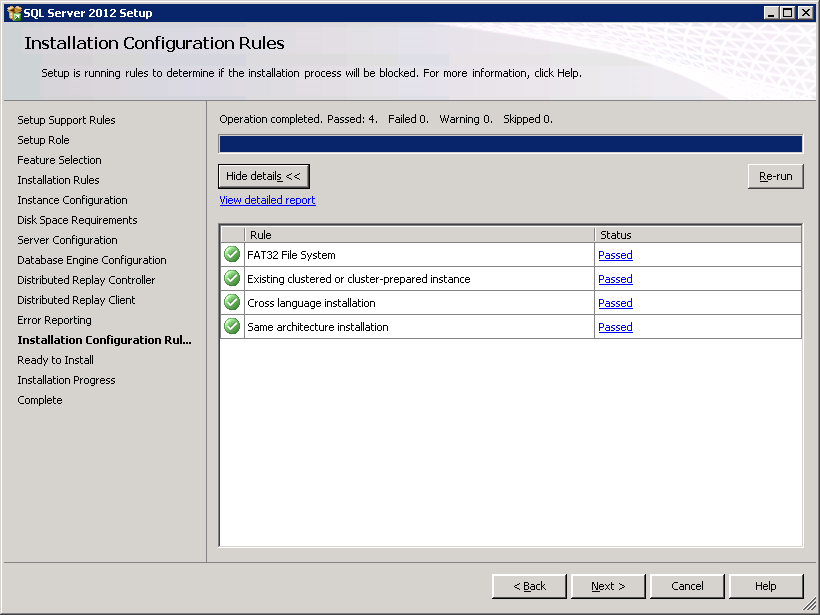
2.2.20) Installation Configuration Rules
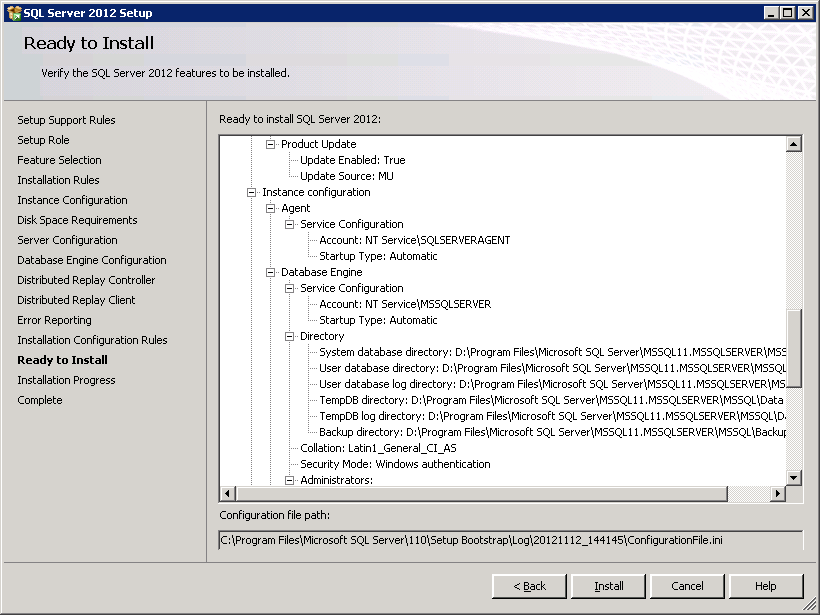
2.2.21) Ready to Install
You can again check here that database files will be written to the desired drive (normally not C:)
2.2.22) Installation Progress – can take up to 1 hour. The installation creates the system databases as it goes.
2.2.23) Complete
You are informed that a reboot will be required, although the installer doesn’t carry out the reboot itself, you have to remember to do that yourself.
Check all components installed successfully:
And now is a good time to carry out the server restart:
However – the installation is not really complete at this stage. Post install tasks include applying service pack (if available), configuring firewall and backups.
(Part of a series of SQL Server 2012 training course notes. Previous | Contents | Next)







Leave a Reply